
The “Cell” will become a direct element to construct the region-based animation by specifying a part of the region on the Cell Map. The “Cell List” is a collection of the “Cells” which were cut out from a single cell map.
The “Cell List” is managed per the cell map, so by selecting the original “Cell Map” of the object “Cell” it will appear in the “Cell List” window.
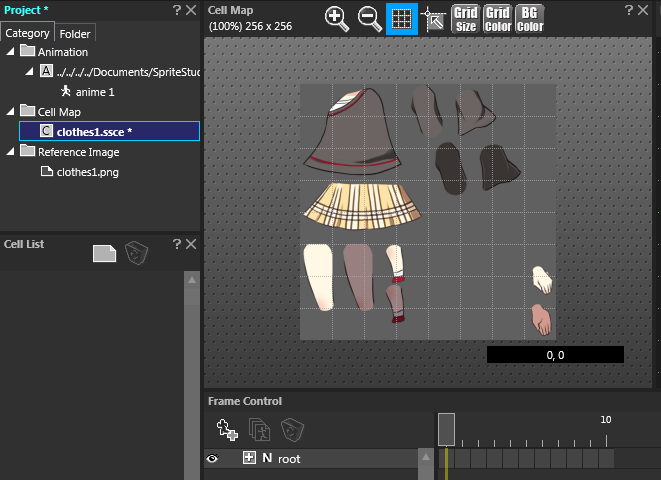
- Click the “Cell Map” from among the “Project” window “Category” tab “Cell Map” in order to add to the cell list. When the cell map is chosen, the image will appear in the “Cell Map” window.
- Select a rectangular range which is desired to specify as the “Cell” on the “Cell Map” window.
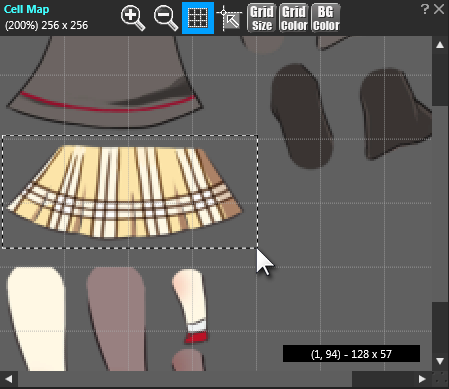
- After specifying the rectangular range, double-click in the rectangular range. Then, it will be registered in the “Cell List” as a “Cell”.
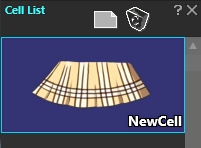
- Right-click the “Cell” which was newly created in the “Cell List” window, and change the name, etc. if required.
- By double-clicking the “Cell” in the “Cell List” window, the original point’s position can be determined which is needed for rotation and scaling of that cell (when used by the animation).
In case of creating plural cells from the single cell map, repeat the procedures: 2 to 5. This step for adding cells can be done during the creation of animation.